Sanding drywall is an essential step for smooth, perfectly finished walls, but if you’re just getting started, what is the best grit to use for sanding drywall? The right sandpaper, grit, tools, and techniques are essential for a surface that’s ready to paint.
This article will explore drywall sanding tips and your options for sanding and feathering joints for a beautiful and paintable surface, whether you’ve got a whole room of fresh drywall or are repairing a small patch.
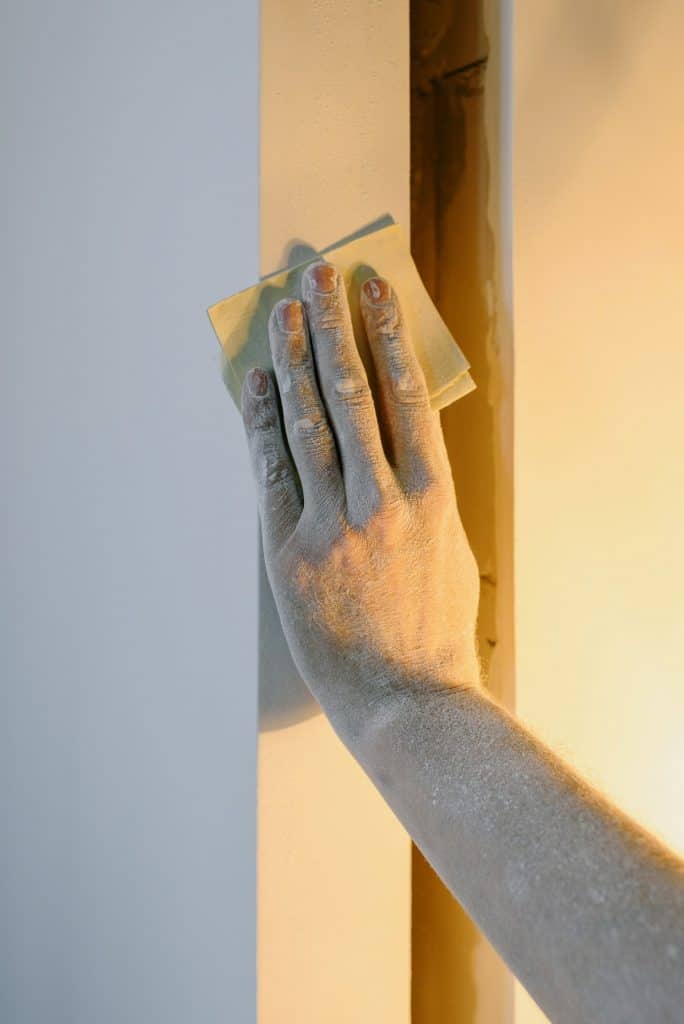
Table of Contents
What Is The Best Grit To Use?
When you begin sanding down the joint compound, you should start with 120-grit sandpaper. You may be tempted to go with a coarser grit to get the job done quickly, but anything around 100-grit will leave visible scratches in your joint compound. After initially sanding down your seams, you can optionally go over everything again with 150-grit drywall sanding paper.
Anything finer than 100-grit will take much too long for your initial sanding. This assumes you are sanding by hand with a manual sander, handle, or drywall pole sanders.
If you are using a power drywall sander, you should start with a 150 grit drywall sanding screen. These power tools sand wall extremely quickly and usually have a vacuum attachment or dust collection system to suck down dust as you sand.
Related: Best power sander for drywall.
It’s important to use sanding screens instead of sandpaper so the dust can escape from between the wall surface and the sander head.
When using a drywall sponge, start with something around 120-grit and work up. Many sanding sponges have different grits on each surface. You can use a drywall sanding sponge for dry sanding, getting into corners, or wet sanding.
If you want to be very meticulous about prepping your drywall for paint, or you’re a beginner nervous about hurting your unfinished drywall, you can go around the edge of seams with 150-grit sandpaper or finer for a really smooth finish.
You can always use regular sandpaper, also called garnet paper or aluminum-oxide sandpaper, usually grey.
The open types of sandpaper (like garnet and aluminum-oxide paper) are best for sanding drywall, and silicon-carbide or wet/dry sandpaper is usually black and often used for metal. You would choose the same 100 to 150 grit for your drywall project.
Wet Sanding
For large projects, or an entire wall, you should dry sand drywall with regular sandpaper or an electric sander, but for small projects, patches, and minor drywall repairs, you can try wet sanding. For wet sanding, you’ll need a drywall sponge and water.
A drywall sponge is an oversized sponge, usually with different grits on each surface. They’re inexpensive, and you can find them easily online or at any hardware store. For sanding drywall compound, you want a fine or medium grit.
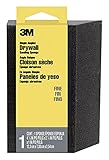
- IDEAL FOR MODERATE SANDING AND SMOOTHING of joint compounds
- DESIGNED FOR SANDING IN CREVICES AND CORNERS - also great for sanding flat or contoured surfaces
- SINGLE ANGLE
Using plenty of water, work down the center of seams with small, circular motions, regularly wringing out your damp sponge and changing your water.
A great thing about wet sanding is that it creates much less of a mess – dry sanding kicks up a lot of drywall dust. It’s also easier for beginners and doesn’t take any expensive equipment. It is suitable for small areas, and cleanup is easy.
However, wet sanding will not give you a perfectly smooth surface – the sand sponge will inevitably leave small ridges as you sand. Wet sanding also takes more time, especially if you count the amount of time it will take your drywall joints to re-dry.
Pole sander
A pole drywall sander is nice to have if you are manually sanding a larger project. It usually has a swiveling head attached to a long pole so you can reach high on walls and ceilings. Use the same 120 grit sandpaper on your pole sander to start.
Tips for sanding
To get the best finish, no matter what type of sandpaper you’re using, always work slowly. Start with medium-grit sandpaper or a 120-grit/medium grit sponge and start at the center of the seams, smoothing out any jagged areas and bumps. Move towards the outside of the seams, feathering the drywall compound out towards the center of the drywall sheets.
Choose the right drywall mud. All-purpose drywall mud and hot mud sands much harder than the topping compound or a light drywall mud like Dap 10100 Wallboard Joint Compound.

- Adhesives & Sealants
- Country of manufacture: United States
- Manufacturer: Dap
You can find an easy-sand version of many brands of compound. For your last coat, use this drywall mud instead of all-purpose. It will save time, clean up and create a much smoother surface.
Mud your seams correctly. Be careful not to create ‘high’ seams with too much compound. This will increase the amount of time it takes to smooth your walls into an even surface and make it much more tempting to start with a lower grit to take down the bumps along the seams.
Make sure you feather your edges. High and hard edges will cause you to over-sand and create that ‘paper fuzz,’ or you won’t be able to sand through a blunt edge, and it will show through when you paint.
Don’t sand gouges or cracks. It’s tempting to reach for fine sandpaper, but in the end, it’s much easier to layer some more joint compound on deep scratches. Trying to sand them, especially near the edges of the compound, can cause you to scuff the drywall itself.
Fill ‘low’ seams. Before you start sanding, take the time to check seams are filled correctly and don’t create a depression – put a straight edge perpendicular to the middle of the seam, and shine a light on it. If light shines through the center, you need to bulk up that seam with a compound.
Low seams can cause you to scuff the drywall paper while sanding or take off too much joint compound.
Sanding might be the most arduous and messiest process of drywall installation. Still, with some patience and the right drywall sanding tools, you’ll create the perfect surface for drywall primer, and lasting, beautiful walls.
Start with the correct materials, like a sanding block and 100 to 120 grit sandpaper, or a 120 grit sanding sponge for corners and wet sanding. Choose garnet or aluminum-oxide, open grit paper, and attach a sheet of sandpaper to your sanding block.
Work slowly and carefully, smoothing imperfections and feathering out the compound. Always wear your dust mask, and clean as you go. Whether you’re patching or sanding a whole room, sanding is a critical step to perfectly finished drywall.