Vinyl wallpaper is tricky to work with, particularly when it comes time to remove or cover it with something more aesthetically appealing.
Painting directly over it is a lot more challenging than it seems, and resorting to peeling it off is a painfully tedious task.
However, perhaps you’ve considered applying drywall mud over the wallpaper, possibly as a skim coat, so you’ll be able to start over with a fresh, blank canvas.
But will drywall mud even stick to such a finicky material?
Drywall mud sticks directly to vinyl wallpaper with no primer or other products needed, provided you apply it evenly and carefully in a thin layer with a roller and trowel. Mudding over vinyl wallpaper is a cheap alternative to the complex installation process with new wallboard and/or removing the wallpaper entirely.
Read on to learn all the tips and tricks of applying drywall mud over vinyl wallpaper.
We’ll go over exactly how to get the mud to stick to the wallpaper and ensure its longevity without cracking or peeling, the many options you have after mudding over it, and the pros and cons of mudding versus simply painting over the vinyl.
Will Drywall Mud Stick To Vinyl Wallpaper?
Even though applying vinyl wallpaper is fast and simple, removing the stubborn paper or covering it up with virtually anything is surprisingly difficult.
If you’re sick of looking at the vinyl wallpaper in your home, you’ve probably considered lots of different methods to get it gone (or at least convincingly hidden).
Whether it’s some trippy, mustard-yellow artifact from the 1970s or just a boring, plain white peel-and-stick from a few years ago, I don’t blame you for wanting an update.
Painting over vinyl wallpaper requires very careful application and a lot of time, effort, and costly primer.
Wallpaper removal is similarly incredibly tedious and about as enjoyable as removing vinyl wallpaper!
This is where drywall mud, also known and sold as drywall compound or joint compound (like this product on Amazon), comes in to solve yet another home improvement puzzle.
While covering vinyl wallpaper isn’t the most common use for drywall mud, it’s becoming increasingly popular for its ease of use and affordability.
This excellent material sticks directly to vinyl wallpaper with no primers or additional products needed.
Even a thin, single compound layer is opaque and dense enough to cover the most brightly-colored and patterned wallpaper.
Its single color and solid color make covering the wallpaper even more effective.
Related: Will drywall mud stick to Kilz?
How to Apply Drywall Mud Over Vinyl Wallpaper
The best thing about using drywall mud to cover vinyl wallpaper is how straightforward the process is, even for those who aren’t naturally handy for DIY projects around the house.
Still, there are a few basic steps and tips, and precautions to keep in mind to ensure the final product is as seamless and professional-looking as possible.
Make Sure The Wall Is Clean And Free Of Any Dust Or Debris
Before you ever start coating the vinyl wallpaper with compound, you want to make sure the wall is as clean and flat as possible.
Don’t apply drywall mud to dirty walls.
However, you don’t have to conduct a thorough, stringent deep clean or anything here–unless the wall is extremely dirty and dusty, you won’t need to do much to get it ready for the drywall compound.
Wiping the wallpaper down with a very lightly damp (NOT sopping wet) towel is usually enough to remove any surface dust and debris from the surface for wallpaper.
This will give you a smooth canvas to work with, so you don’t have any bubbles or cracks.
Apply A Thinned Skim Coat Of The Drywall Mud To A Test Area First
Also, make sure you’re wearing comfortable clothing you won’t be upset with if it gets dirty.
Wet, unfinished drywall mud is easy to remove from most surfaces, but it’s very difficult to work with once it’s dried.
Cover any areas of the floor or nearby furniture you don’t want to get dirty if a bit of drywall mud goes flying during the application process.
You’ll also likely need to thin the drywall compound with water, even if it’s a ready-to-use, pre-mixed formulation.
Do this by adding warm water slowly until the compound reaches a thin, spreadable (but not drippy) consistency.
Ideally, you want the layer to be thin enough to not look uneven, bulky, or chalky but thick and opaque enough to reliably stick to and fully cover up the wallpaper.
By working with a small test area first, you’ll be able to experiment a little with applying the mud and finding the right consistency.
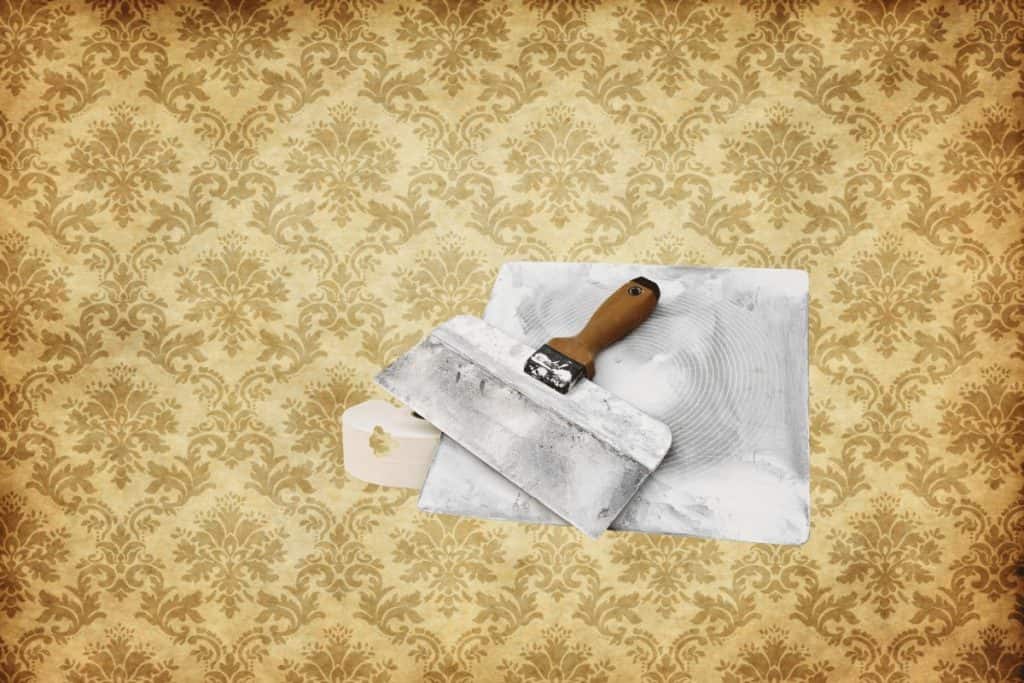
Apply the compound first with a paint roller (just like you would with a coat of paint), but have a trowel on hand to go back over the area and smooth it further.
Again, no primer is needed, as drywall mud sticks very well to vinyl wallpaper.
Fill In Any Patchy Areas
Once you’re satisfied with the test area and the drywall mud has been applied smoothly with no bubbles or cracks, look at the rest of the wall and check for any patchy spots where the vinyl wallpaper is peeled or worn down.
Cover these bare spots on the vinyl walls with a thin layer of drywall compound first and let it dry completely.
By filling in the patchy areas, you’ll smooth out the surfaces of the textured walls more so the final product doesn’t look uneven.
Just like you did with the test area, apply the mud with a roller and go back over it with a trowel if needed.
Blend it carefully so the patchy areas are flush, even with the rest of the wall surface, and let it dry completely.
Apply A Layer Of Drywall Mud Over The Entire Wall Surface
At this point, you’ll have a smooth, flat surface to work with (though it likely looks a bit odd right now if you had to cover up a lot of sparse, peeled wallpaper patches).
Once any patchy spots are fully dry, it’s time to apply a smooth, even skim coat of the drywall mud to the whole wall.
Once again, just like you did with the test area and covering the patchy spots, apply the thinned-out coat of mud with a roller first and then go over it with a trowel wherever needed.
Let It Dry Completely
The result, of course, should be a smooth, off-white wall with no areas of the vinyl wallpaper showing through.
If you still aren’t satisfied with the compound’s opacity, feel free to let it dry and apply an additional layer.
If the surface isn’t smooth enough for your liking, consider going over it all (or just the parts you aren’t happy with) with a drywall sander.
From here, you’re free to cover it with your favorite paint, re-paper it, or otherwise cover up the fresh, plain wall however you’d like!
It’s tough to get a perfect surface, but these tricks will get you closer when covering up some bad walls.